I’ve been craving this dip for a while. And in this world, when you want something — you get it. So I got it, and the gettin’ was so good.
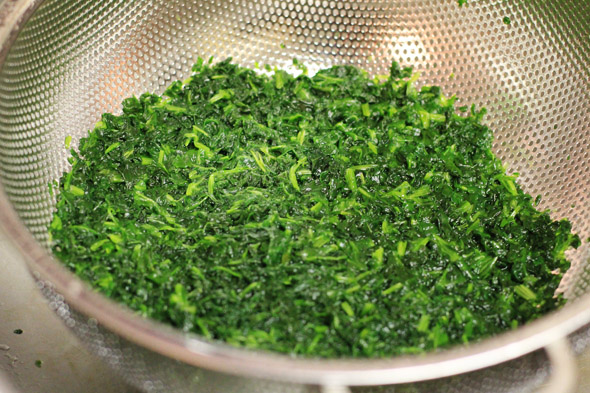
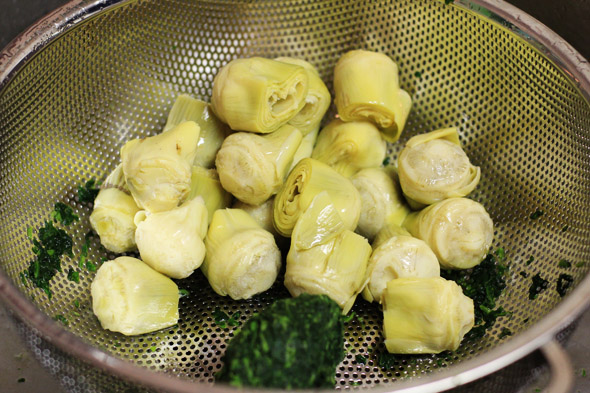
I squeezed the water out of the spinach, but not the artichokes…I just let those drain on their own
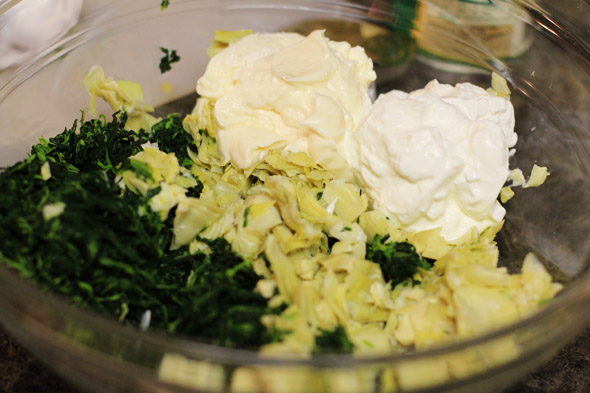
give the artichokes a rough chop, then add in all of your ingredients…
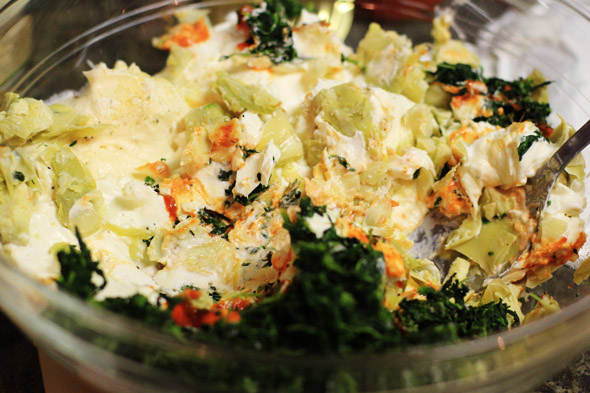
mix it all in til it’s well combined…
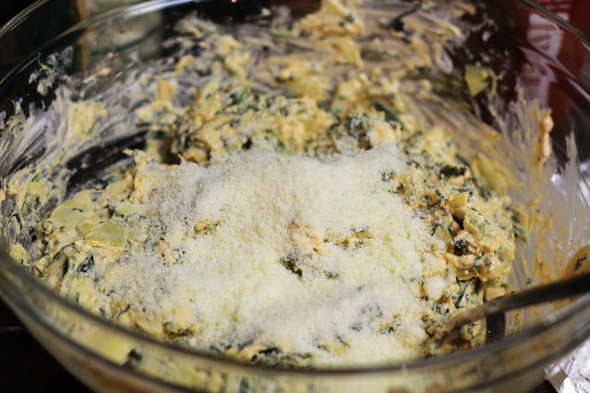
throw in some cheese (or not)
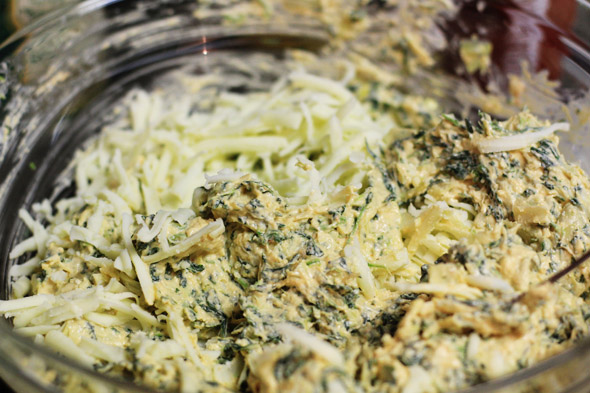
and more cheese (or not)
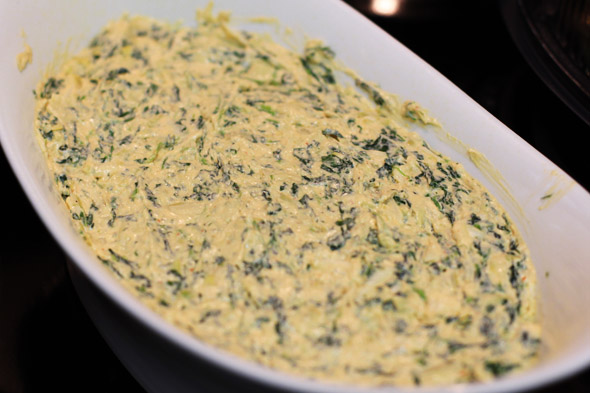
put it in an oven-safe baking dish on 350 and let it get happy and bubbly
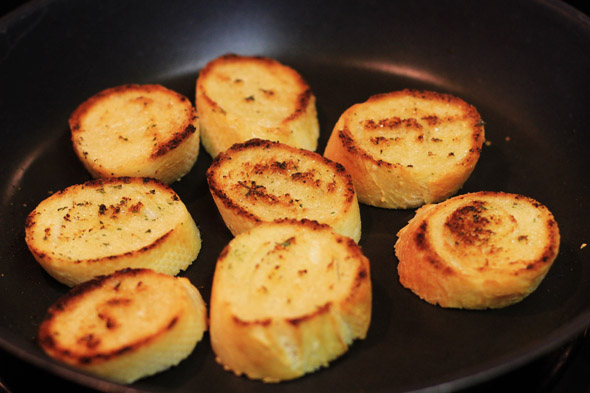
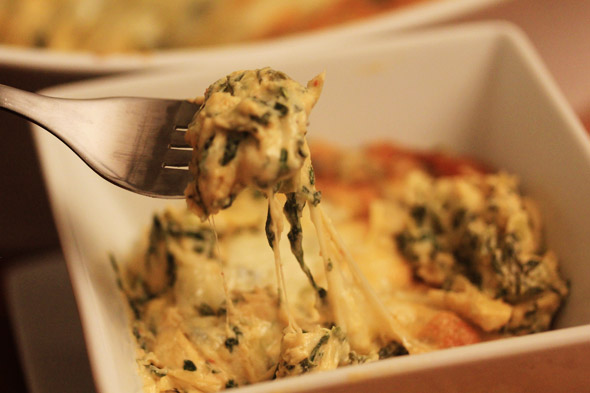
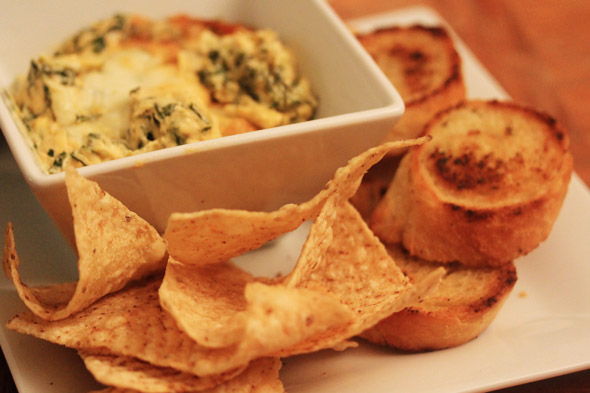
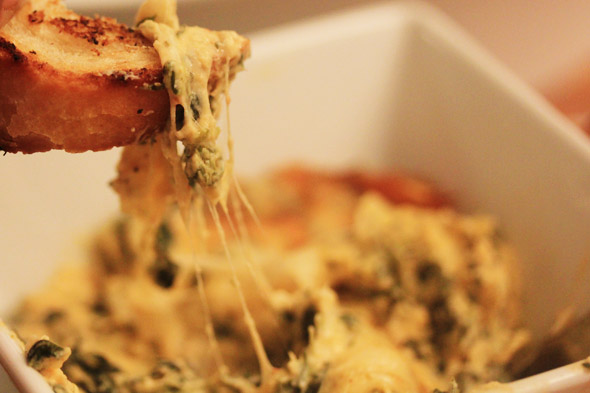
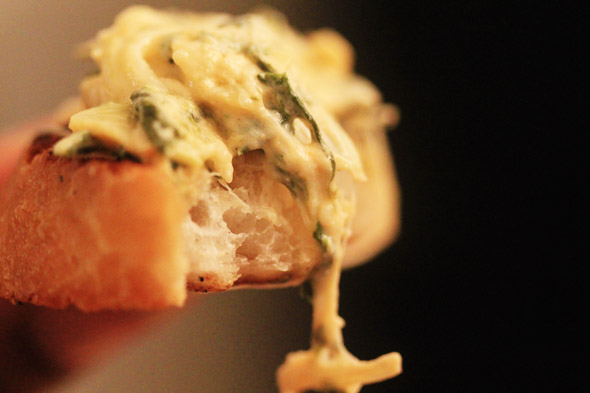
I like my spinach and artichoke dip with garlic toast…but you can eat it with whatever you’d like
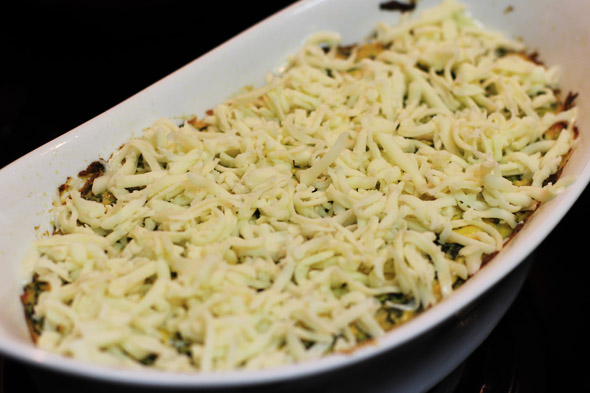
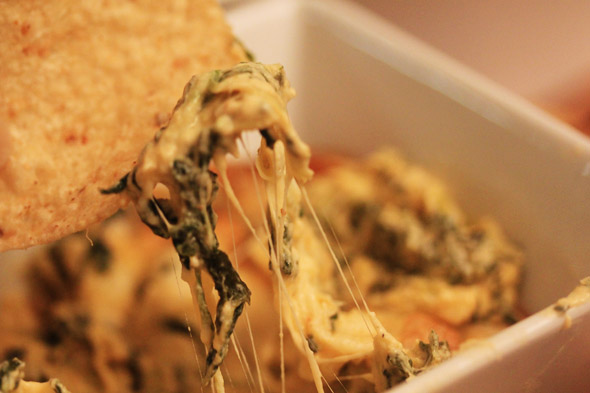
after the dip is nice and heated thru, add a layer of mozzarella cheese on top and bake or broil until bubbly
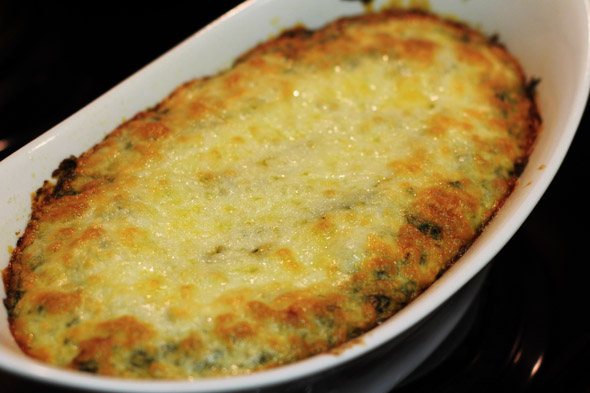
like this…
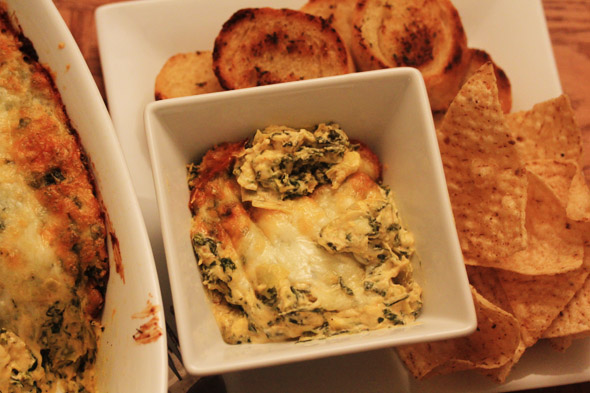
serve it up!



What’s great about this recipe is that you can fully customize it. I like my dip cheesy, but if you don’t — then don’t add the cheese lol. It’s that simple. You can also add other stuff to it, really make it your own. I intended on adding chopped crispy bacon to this batch, but I got lazy and didn’t feel like frying any bacon up. Shame on me, but hey…it happens. I will be adding crab to this recipe next time, and squeezing it with lime — that combination is so damn good!! I can’t remember where I had it first, but it was truly the best spinach and artichoke dip I’ve ever had.
This recipe makes a lot of spinach dip, so it’s perfect for a party or gathering of at least six hungry people. It reheats in the microwave just fine, too. Make sure you buy canned artichokes that are in a brine, rather than the “marinated” kind. The lemon juice really brightens up the dish and adds a nice mellow acidic balance to the spice and creaminess of the dish.
My two main cheeses for this dish are whole milk mozzarella, and monterey jack. I prefer using the kind that you have to shred at home, because the stuff in the bag isn’t as good and it’s got a weird powdery film on it to prevent caking. It’s always better to grate/shred your cheese at home if you can. Yeah I know, I know…it’s an extra step — but it’s so worth it. I threw in a tiny bit of parmigiano-reggiano cheese just because I had some on hand. You don’t have to use that cheese at all, though.
The baking time for this dip depends on the dish you’re baking it in. My baking dish was pretty deep, so it took mine a good 45 minutes on 350 to get nice and bubbly. If your dish is more narrow, it won’t take as long. So my advice is to start checking it’s progress after 20 minutes, and every few minutes after that.

drain your spinach if you’re using frozen

I squeezed the water out of the spinach, but not the artichokes…I just let those drain on their own

give the artichokes a rough chop, then add in all of your ingredients…

mix it all in til it’s well combined…

throw in some cheese (or not)

and more cheese (or not)

put it in an oven-safe baking dish on 350 and let it get happy and bubbly

I like my spinach and artichoke dip with garlic toast…but you can eat it with whatever you’d like

after the dip is nice and heated thru, add a layer of mozzarella cheese on top and bake or broil until bubbly

like this…

serve it up!


This is some seriously yummy stuff. So creamy, cheesy and bursting with flavor…not to mention ridiculously easy to make. You literally mix everything and bake it.
SPINACH & ARTICHOKE DIP

PREP TIME
COOK TIME
TOTAL TIME
Author: Dierra from Jive Foods
Serves: a crowd
INGREDIENTS
- 1 8oz. package cream cheese, softened
- 1 10oz. package frozen spinach, thawed and squeezed dry
- 1 16 oz. can of artichoke hearts (use the brined version), drained and roughly chopped
- ⅓ cup of mayonnaise
- ½ cup sour cream
- 1 tsp lemon juice
- 1 to 2 cloves garlic, minced
- ½ tsp onion powder
- 2 to 3 tbsp Sriracha or other hot sauce (very spicy! if you like less heat, use just 1 tbsp)
- ¼ to ⅓ cup whole milk mozzarella cheese, shredded
- ¼ to ⅓ cup monterey-jack cheese, shredded
- 2 tbsp parmigiano-reggiano cheese, grated (optional)
- Salt and freshly ground black pepper to taste
Topping:
- ½ cup whole milk mozzarella cheese, shredded
INSTRUCTIONS
- Preheat your oven to 350, and lightly spray your baking dish with nonstick cooking spray.
- Thaw and squeeze the water out of the spinach either by hand or with a cheesecloth or paper towel. You just want to remove as much water as possible to avoid a watery dip. You don't have to squeeze the water out of the artichokes like you would the spinach, just let them drain for a few minutes on their own in a colander, then give the artichokes a quick rough chop. However, if your artichokes are very watery, give them a light press to help remove most of the water so that you don't have a watery dip, or use paper towels to absorb any excess liquid. I cut the very ends of each artichoke heart off, but you don't have to.
- Mix all ingredients together until well combined. TASTE IT! Make sure it's seasoned to your liking before you bake it. Transfer mixture to your baking dish and bake on the middle rack of your oven until it's hot and bubbly, about 25 to 45 minutes. Sprinkle the remaining ½ cup of mozzarella cheese on top then bake an additional 10 to 15 minutes until cheese is hot and bubbly and lightly golden brown. *Alternately, you could turn on your broiler and melt that cheese that way, just don't put the dish directly under the broiler or you risk burning the cheese too quickly. Keep it on the middle rack and broil until cheese is bubbly and lightly golden brown.
- Serve immediately with garlic toast, tortilla chips, veggies, or whatever you desire. Enjoy!
Comments
Post a Comment