Ohhh dear. What can I even say to possibly convey the deliciousness that rests within this post? I don’t even know. Just trust me when I say that this was an incredible sandwich. Simple, easy, and bursting with flavor. If you’re a fan of cow, you've gotta try this.
I have been craving cow for weeks. Weeks! Beef is my buddy but I don’t like to eat too much of it too often, so I help myself to it once a month or so if possible. I looked through my fridge, saw that I had some pesto paste, arugula, and provolone…then I said to myself, “Yup, it’s steak sandwich time”. I ran to Wegmans and picked up two absurdly large cuts of New York Strip Steak — one of my favorite cuts ever. It’s so juicy and tender…and huge. I don't care how perverted it sounds but me plus good meat equals happy life!!
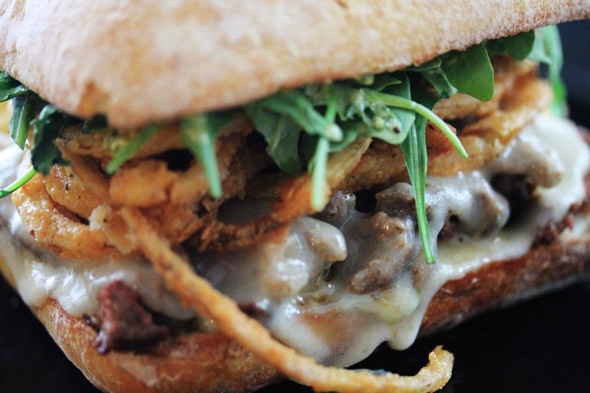
This isn’t a “philly cheesesteak”, folks. It’s just a steak and cheese sandwich lol. The flavors of this sandwich are very complimentary and simple, but very robust. The peppery arugula gets blended with a creamy mayo, which is then cut with the bright flavors of fresh lemon juice and a concentrated pesto paste, which helps intensify the overall flavor. When slathered on crusty ciabatta rolls, followed by tender juicy slices of steak and yummy melted provolone cheese, crispy onions (which provide a hint of sweetness) and more fresh peppery arugula?? Man, listen…sooooo good!
I chose ciabatta rolls because they develop a very nice crusty exterior while remaining soft and tender on the inside. It’s not that annoying chewy baguette’like bread that makes a sandwich difficult to eat. You know how you bite into certain types of bread and have to literally gnaw like a beaver just to fully release a bite? The bread that is tough and makes you look like some sort of neanderthal with zero home-training? You won’t have that problem with the ciabatta. I love it, it’s perfect. I do love a good baguette, just not for sandwiches like this lol.
Just make this sandwich already. Great for game day, or any day. Feel your taste buds pop-lock like they’re at Studio 54. I bit into it, and angels sang. Every bite was effortless, and full of amazing things. You’ll definitely enjoy it.
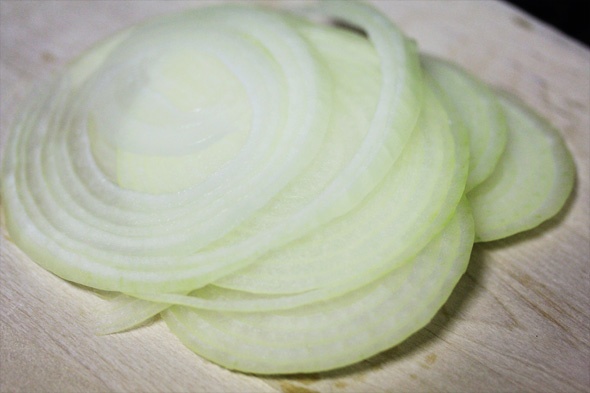
Onions sliced as thin as possible
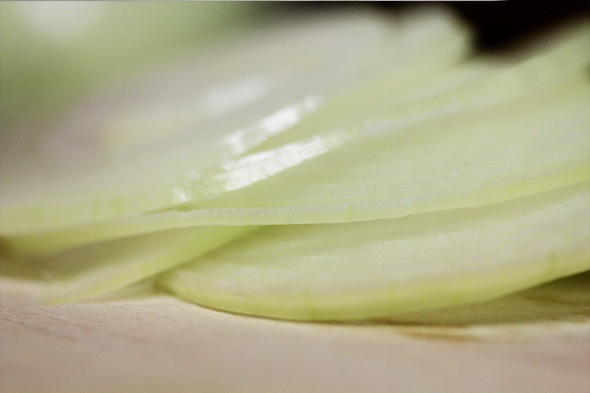
This takes practice, don’t cut yourself trying to do something you’re not used to. Cut them as thin as YOU can get them
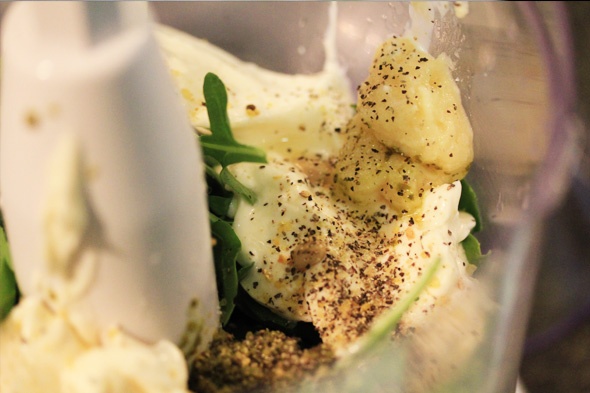
The makings of the perfect sandwich spread
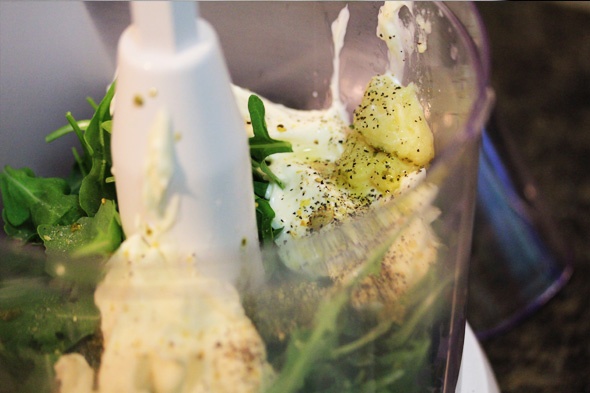
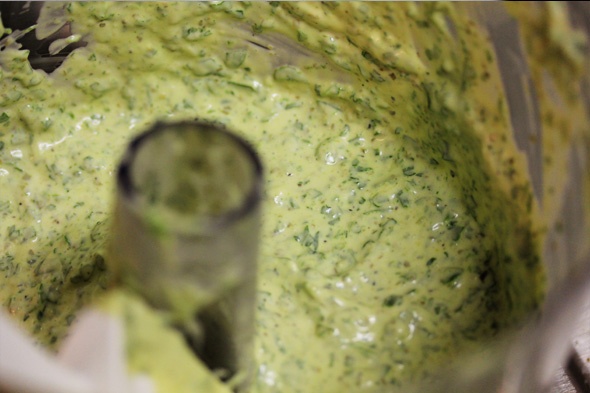
This stuff is to die for! So fragrant, so flavorful, and so delicious with the steak
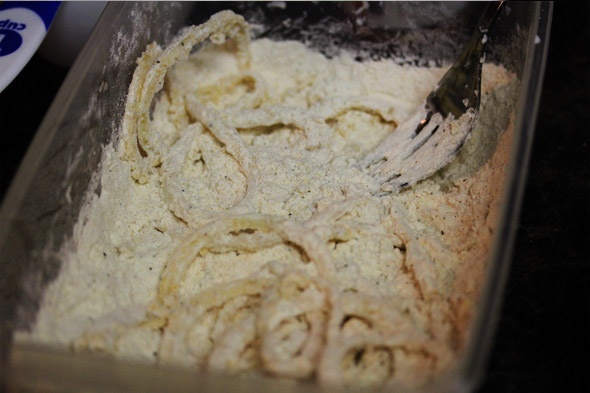
Onions tossed in the seasoned flour, ready to be fried
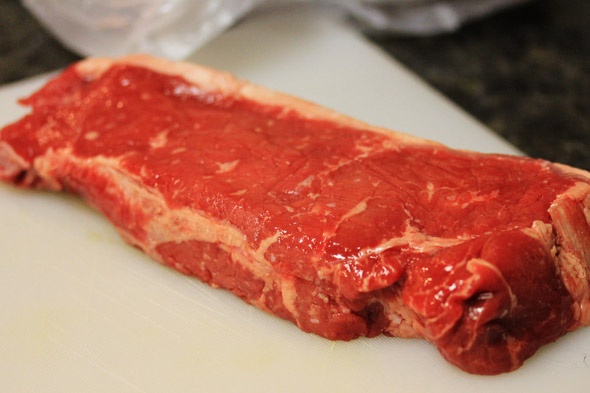
HUGE cut of NY Strip. I cut this into two, but you can do whatever you want lol.
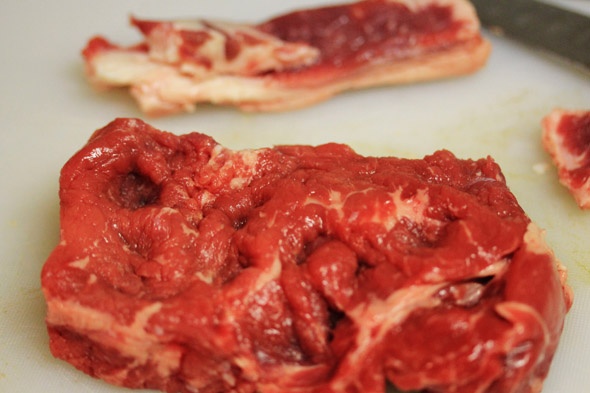
Steak, trimmed of excess fat, halved, and beat up
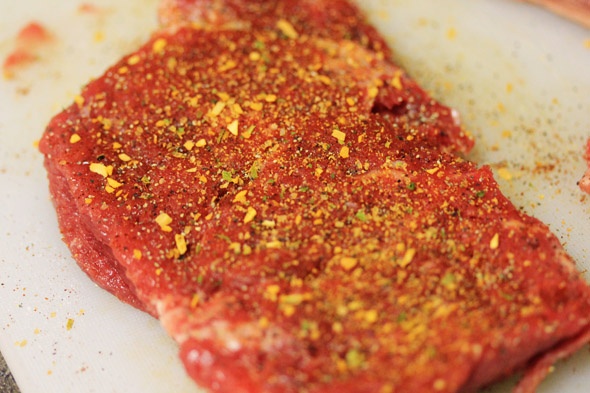
Seasoned steak!
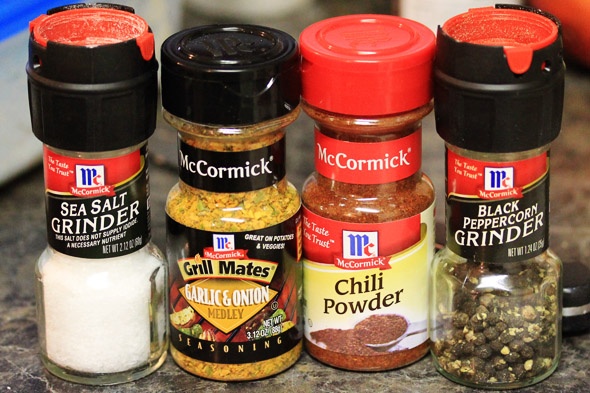
Oh, btw…these are the only four seasonings I used for the steak and it came out perfect and so juicy and tender.
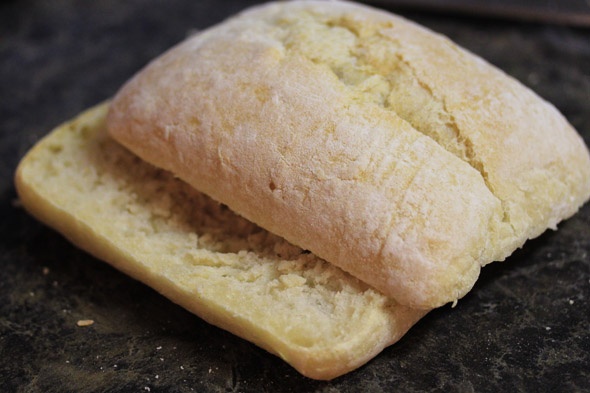
Ciabatta rolls, ready to be toasted
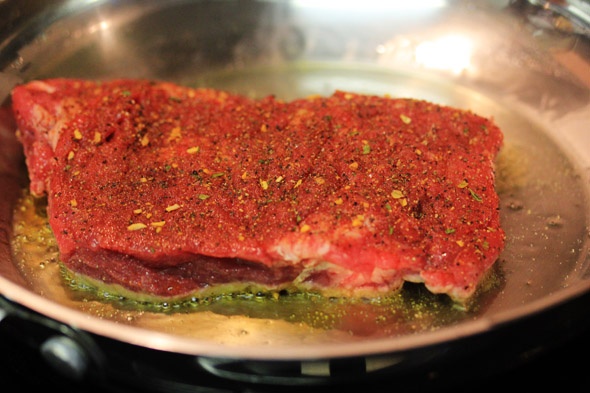
Sear that sucker for about 5 minutes per side
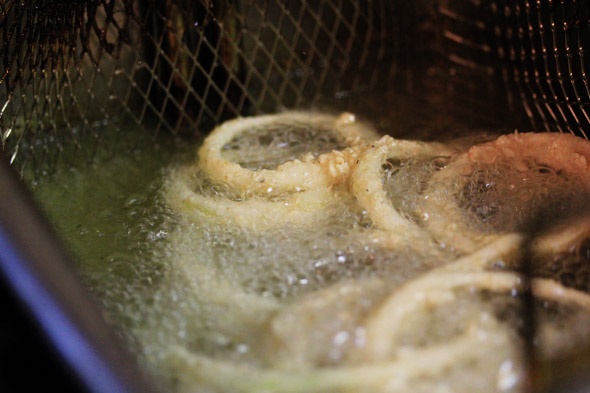
Fry those onion straws up!
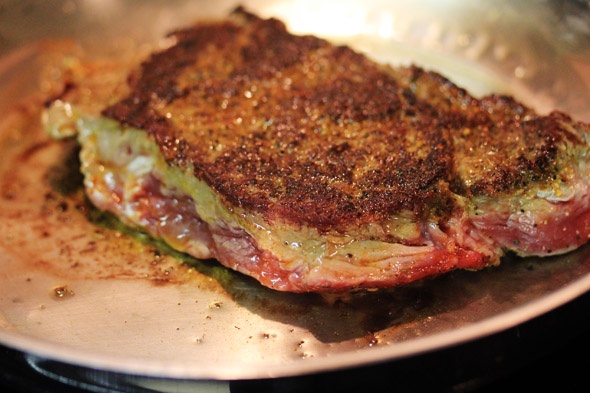
Look at that crust! This is exactly what you wanna go for. The key is to leave it alone once you place it into the pan. Don’t move it around and whatnot.
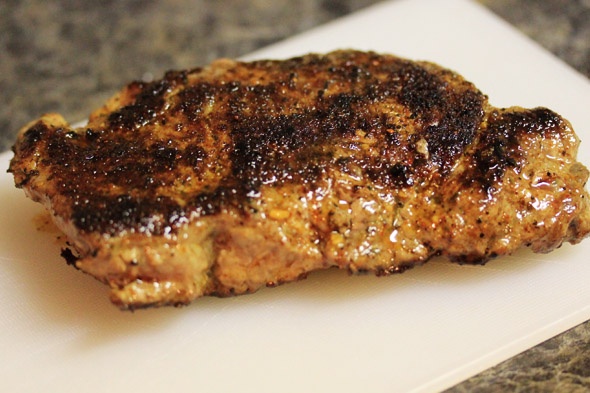
She’s done. She’s resting. Let the meat relax a bit so that you don’t lose all that delicious juice swimming around inside.
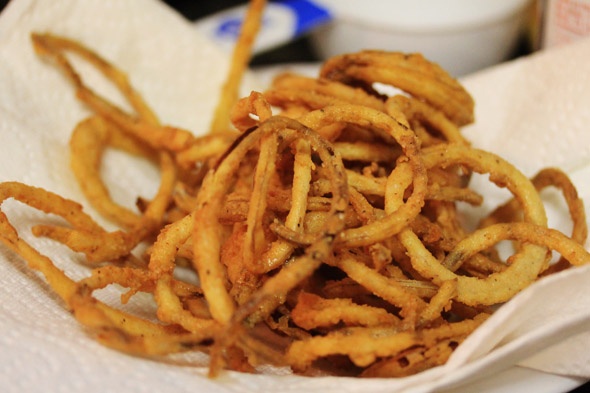
Yum!!
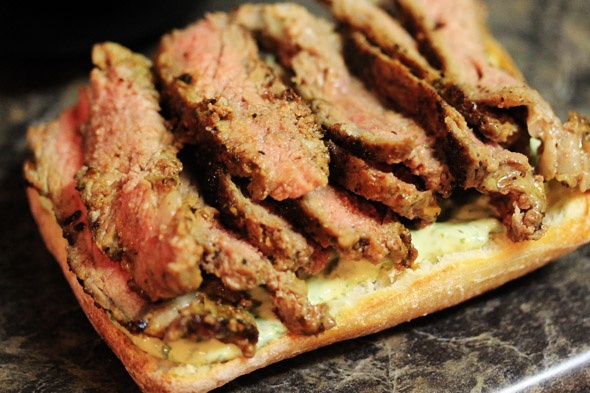
Slice your steak into thin strips like so, and pile onto the lower half of your ciabatta roll.
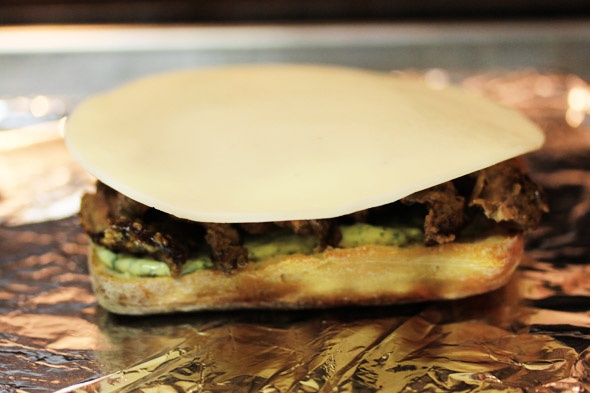
Line a baking sheet with foil and place a slice of your favorite cheese on top.
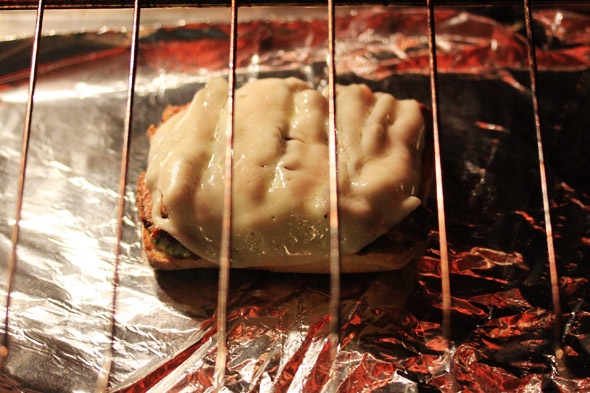
Broil on the lowest oven rack until the cheese begins to melt, this will happen very quickly!
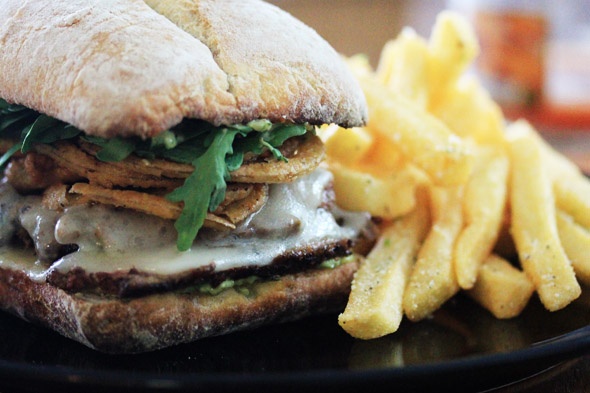
Awwww yea!

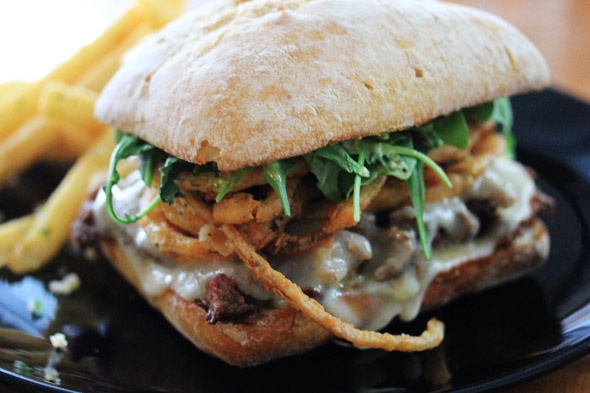
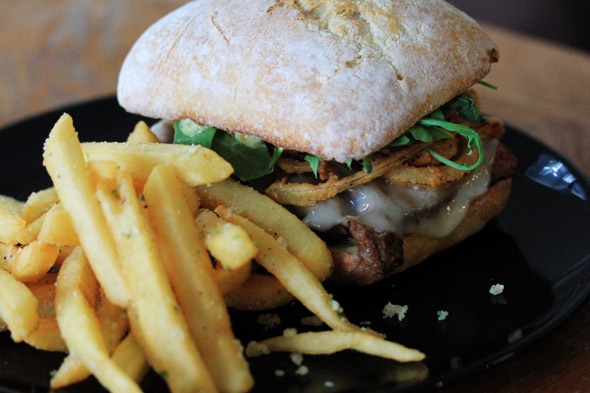
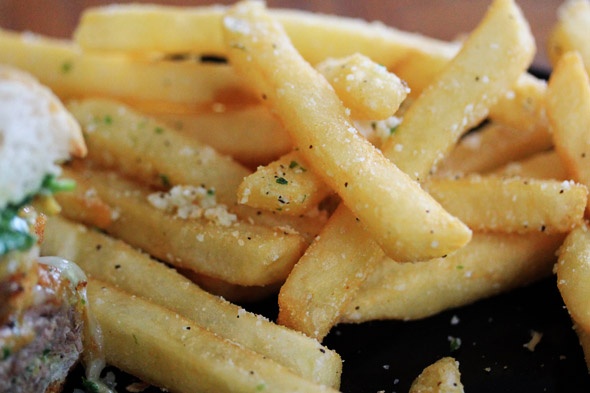
Oh my goodness…just…hold me, please?
Those are regular fries tossed with a bit of garlic infused oil, parmigiano-reggiano cheese, salt, pepper and dried herbs. Ay yi yi!
SEARED STEAK & CHEESE SANDWICH
INGREDIENTS
- 1 strip steak, cut into two pieces
- 2 tbsp olive oil
- 2 small loaves of ciabatta bread, sliced
- 2 slices of provolone cheese (use any cheese you'd like)
- Fresh arugula
- Crispy onion straws (recipe follows)
- Arugla-Pesto Mayo (recipe follows)
- ¼ to ½ tsp sea salt, per side
- ¼ to ½ tsp black pepper, per side
- ¼ to ½ tsp chili powder, per side
- 1 tsp McCormick Garlic & Onion Grillmates seasoning, per side
Steak seasoning suggestions:
INSTRUCTIONS
Preheat your oven to 500 degrees.
Cut your steak into two pieces. Trim off any excess fat from your steaks, and pound with a meat tenderizer to break down the steak so it's nice and juicy. I improvised and used a rolling pin, the base of my chef knife, then poked holes into the meat with a fork -- whatever works! You don't want it paper thin, just nice and tender and not so "tight".
Season with the suggested seasonings, or use whatever you have in your pantry. Set aside to rest.
Heat a heavy bottomed skillet over medium-high heat. Drizzle in the olive oil. You'll be able to tell when the pan is nice and hot because the oil will immediately start to glisten once it hits the pan. If it starts smoking, remove the pan from the heat and allow it to cool down for a minute or two. You don't wanna burn your house down, but you do want a nice hot pan so that the steak develops a nice crust.
Place your steak into the skillet and leave it alone -- meaning, don't move it around once it hits the pan. Let it cook for about 5 to 7 minutes per side.
Remove from heat and let it rest on a cutting board for about 10 to 15 minutes before you slice into it.
Meanwhile, toast your ciabatta rolls in your hot oven until crusty, about 5 minutes or so. You'll know its ready when it's lightly browned and hard when you tap your fingernail against it. Ciabatta develops a crunchy exterior while maintaining a tender middle. Remove from oven and turn on your broiler.
Slice your steaks against the grain into thin strips, so that it's easier to eat.
Slather the arugula-pesto mayo on both sides of the roll, then place the sliced steak on top. Followed by the cheese.
When the broiler is nice and hot, slide your sandwich under it on the lowest rack of your oven, while keeping the oven door slightly opened. The cheese will melt very quickly so don't take your eyes off it. Once the cheese has melted down to your liking, remove and finish assembling the sandwich with the crispy onion straws, and fresh arugula.
Serve with your favorite side and enjoy!
CRISPY ONION STRAWS
INGREDIENTS
- 1 yellow or sweet vidalia onion, sliced into thin rings
- 2 cups buttermilk, or enough to cover the rings once sliced
- 1 cup all purpose flour
- ½ tbsp seasoned salt
- 1 tsp pepper
- ¼ tsp cayenne pepper
- ¼ tsp paprika
- canola or vegetable oil for frying
INSTRUCTIONS
Cut the onion as thinly as you can into rings. It's ok if they're not complete rings.
Separate the rings into a small bowl or dish, and cover with buttermilk. Just enough so that each ring is wet with the buttermilk. Refrigerate for at least one hour.
Mix the flour and seasonings until combined.
Remove your rings from the buttermilk, and throw them into the flour mixture. Toss until each ring is thoroughly coated. Let the onions hang out in the flour mixture for about 5 minutes. This just ensures an even coating, and prevents most of the flour from floating off into the oil.
When ready to fry, heat your oil to 375 degrees. When the oil is ready, gently place the rings into the hot oil, shaking off any excess flour, and allow to fry for about 3 to 5 minutes, or until golden brown. The thinner the onions are sliced, the quicker this will take.
Drain on paper towels and lightly season with a tiny bit of salt while they're still hot, if desired.
ARUGULA-PESTO MAYO
INGREDIENTS
- 1 cup fresh arugula, tightly packed
- ½ cup mayo
- 1 tbsp pesto paste, or prepared pesto in a jar
- ½ lemon, juiced
- 1 tsp garlic paste, or 2 cloves of minced garlic
- Salt, Pepper and Lemon pepper to taste
- 1 tbsp olive oil
INSTRUCTIONS
In a food processor, add all of the ingredients except the olive oil. Pulse a few times to get it going, then slowly drizzle in the olive oil.
If you don't have a food processor, chop the arugula as finely as you can, then mix all ingredients together in a bowl.
Allow this mixture to chill in the refrigerator for at least a half hour, so that all of the flavors come together.
Comments
Post a Comment