I love biscuits, and I love cinnamon rolls. So I decided to combine the two. This method is a whole helluva lot faster, and I’m a glutton for deliciousness! These are insane. I’m not even kidding. One bite, and everything wrong in your world will just suddenly be right. You won’t even care that your boyfriend forgot your name, or that your wife accidentally spilled nail polish remove all over your brand new iPad. Well…that might be a stretch, but you’ll at least forgive her a little faster if she makes these for you 
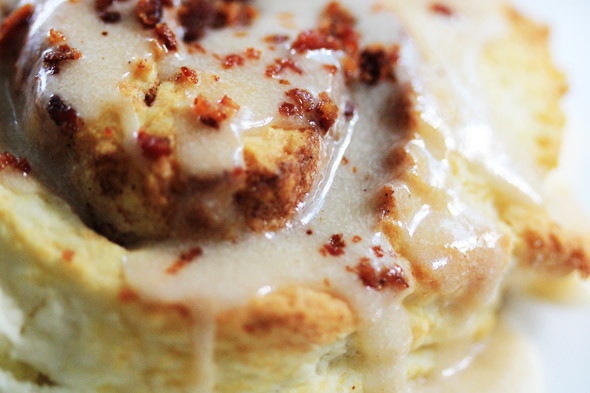
I wish I could describe how delicious these were, but you’ll just have to make them for yourselves and see what the fuss is all about. The biscuits themselves are super tender, soft, buttery and delicious. Then there’s the maple glaze that compliments it perfectly, topped off with crunchy, tiny little pieces of salty smokey bacon. Man, listen…if you make these for someone special, they’ll never leave your life.
I created this recipe not really knowing how it’d turn out, so this was a test run for me. However, they came out better than I had imagined, so I had to immediately post this. I will have to take pics of the process next time, but at least you have the recipe now  Feel free to get creative and roll up some raisins or your favorite nut into the dough. You can totally treat them like a traditional cinnamon roll. I used Vietnamese Cinnamon, but regular cinnamon will do just fine.
When making biscuits, my go-to flour is White Lily’s Self-Rising stuff. Don’t ask me why, just trust me on this. If you wanna make an incredible biscuit, use White Lily flour because it’s perfection. You don’t absolutely NEED to use White Lily, any self-rising flour would work, but if you have White Lily in your pantry, or could easily pick up a bag…do it.
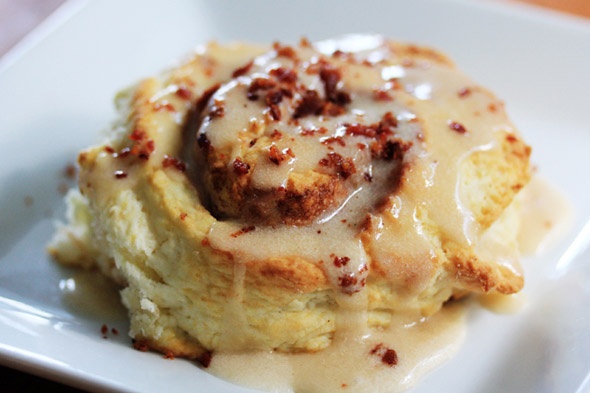

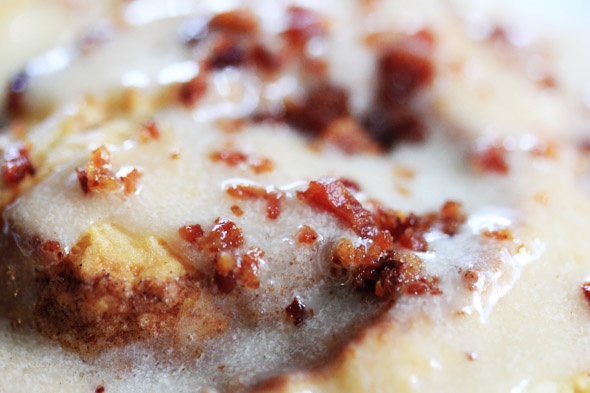
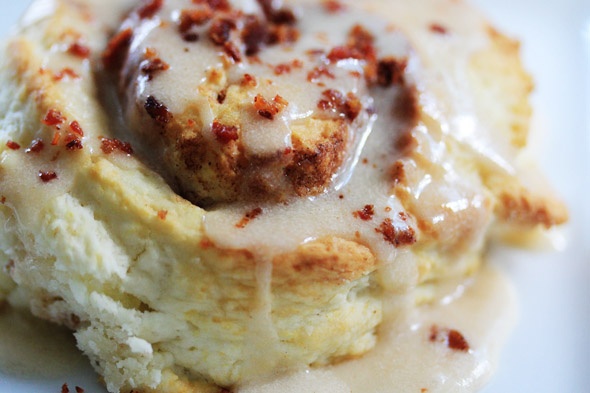
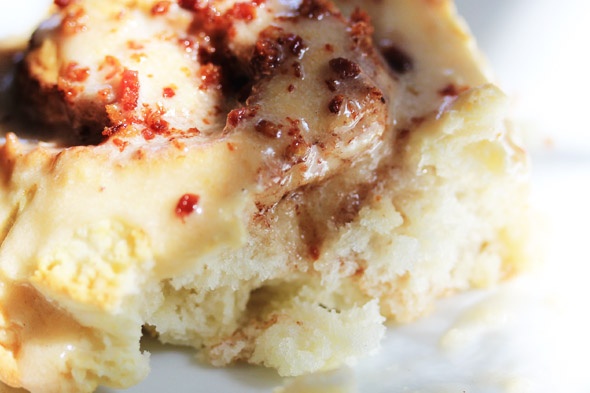
CINNAMON SWIRL BISCUITS

Serves: 6 to 8 biscuits
INGREDIENTS
- 2 cups self-rising flour + more for kneading (I used White Lily)
- 2½ tbsp granulated sugar
- pinch of salt
- 1½ cups heavy cream
- 1 to 2 slices of bacon, crumbled into bits to sprinkle on top (optional)
For cinnamon-sugar mixture
- 3 tbsp unsalted softened, room temperature butter
- 2 tbsp granulated sugar
- 1 slightly heaping tsp cinnamon
INSTRUCTIONS
- Preheat your oven to 425 degrees.
- In a bowl, mix flour, sugar, and salt together well with a fork until evenly distributed.
- Pour the heavy cream into the dry ingredients and fold together with a fork or spoon until well combined.
- Sprinkle a little self-rising flour onto a clean, flat surface and begin kneading your dough. Push the dough together so that it's not falling apart - because it will be tender, then knead lightly with gentle hands for about 30 seconds. You just want the dough to come together and not stick to your fingers or the surface. Be careful not to over-handle the dough, you'll toughen the biscuits.
- Flatten the the dough into a ½ inch rectangle.
- Spread the softened butter onto the dough with your fingers or a pastry brush. Make sure it's a thin layer and make sure the butter isn't melted. You just want it soft enough to spread.
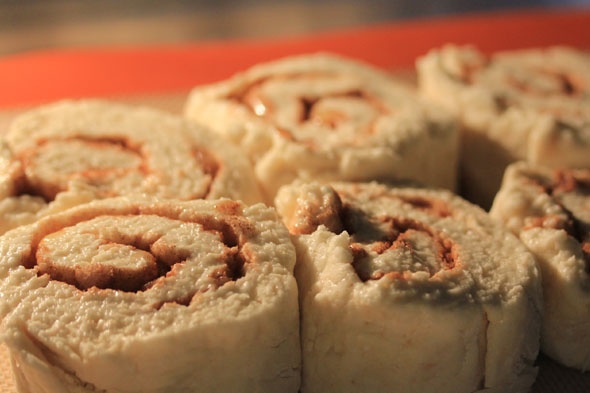
- Sprinkle your cinnamon sugar mixture over the entire area of the dough and roll it up. Pinch and seal the edges with your fingers and slice into rolls with a sharp serrated knife, or use a piece of string to cut.
- Place each roll on a baking sheet lined with either a silicone baking mat or parchment paper. I allowed my biscuits to touch sides, but you can separate them about an inch if you'd like. You could also use a round baking sheet if you prefer, it's up to you.
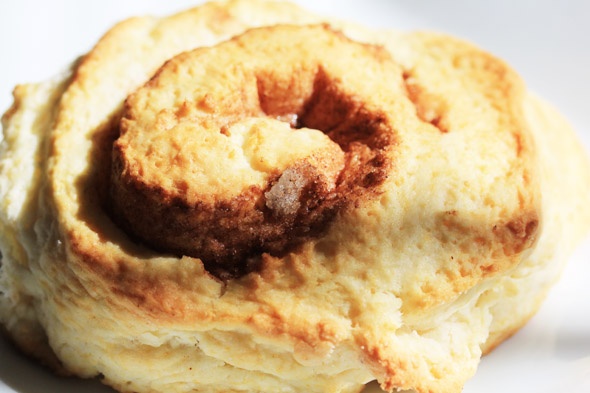
- Bake on the middle oven rack for 12-15 minutes or until golden brown.
- Remove from oven and drizzle with the maple glaze and sprinkle with bacon.
- Serve immediately.
BUTTERY MAPLE GLAZE

INGREDIENTS
- 1 cup confectioners sugar
- 1 tbsp unsalted butter, room temperature
- 3 tbsp real maple syrup
- ¼ tsp vanilla extract
- pinch of salt
- tiny dash of cinnamon
INSTRUCTIONS
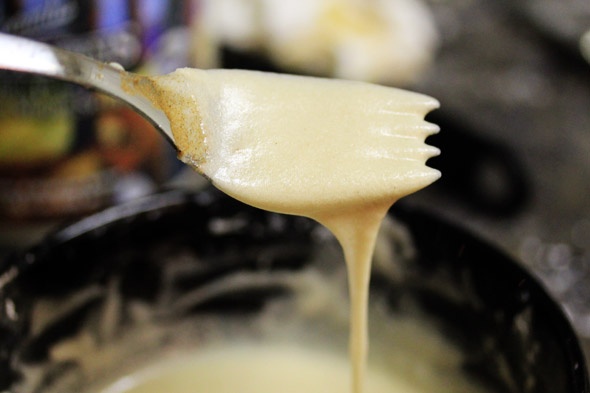
- Mix all ingredients together and adjust until glaze is pourable. Should be slightly thin, but not watery. Add more sugar or syrup as needed to get the correct consistency. If using "pancake syrup" the color won't be the same as what you see in my photos.
- With a fork, drizzle over the hot cinnamon swirl biscuits.
You can sprinkle tiny bits of bacon if you’re into that kinda thing  Enjoy!
Disclaimer: Please note that some of the links on each post, recipe, and/or page may be affiliate links and I will earn commission if you make a purchase through those links, which helps support the site. You are under no obligation to purchase any products through any affiliate links posted here.
Comments
Post a Comment