So I'm from Buffalo, and as the world know we had a snow storm that shut the city down for a week and a half. The only thing that kept me from getting cabin was these that i made. No amount of snow was gonna stop me from making it happened. You already know how I feel about tacos. They’re my little pieces of heaven in a cruel and cold dog-eat-dog world. Tacos…are everything.
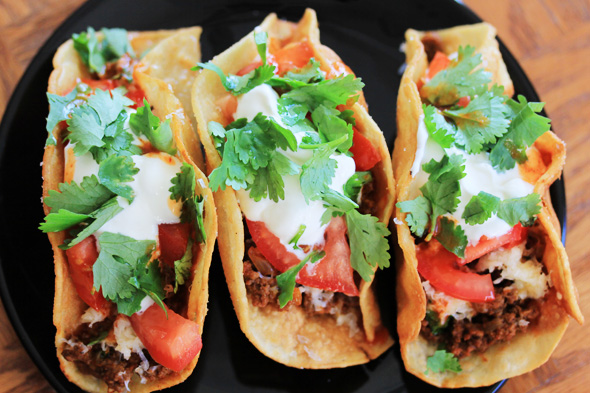
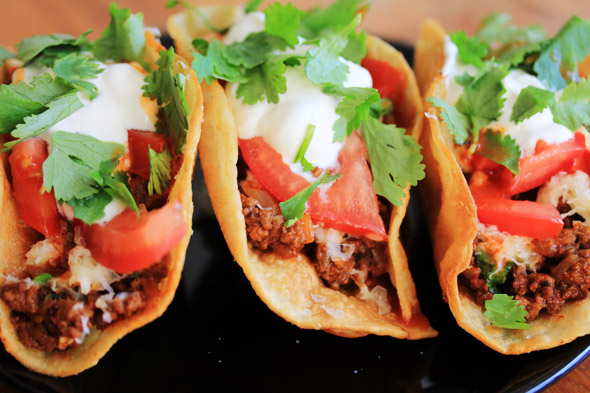
These tacos are completely homemade. No kits. No seasoning packets. No boxed taco shells — which I’d still eat, but only in a pinch. There’s nothing better than frying your own corn tortillas for a taco, and this method I learned makes life so much easier. It takes just a few minutes to fry up the taco shells, and the crunch they provide is out of this world. These tacos are perfect — no orange grease running down your arm, perfectly seasoned, just hands down delicious.
Once you make these, you won’t bother with the box kits…nothing beats the taste of homemade. Plus, you’ll feel so special knowing that you prepared these entirely by hand…its a rewarding feeling lol.
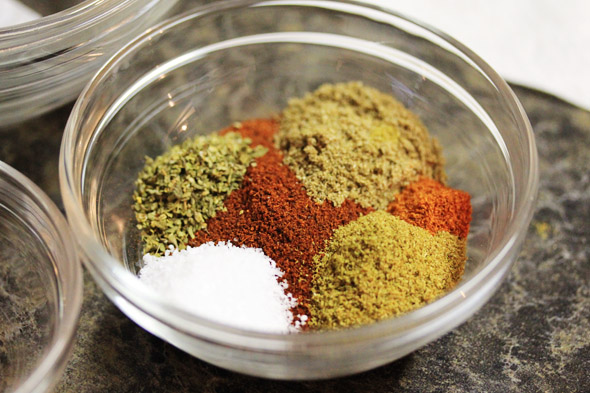
taco seasoning
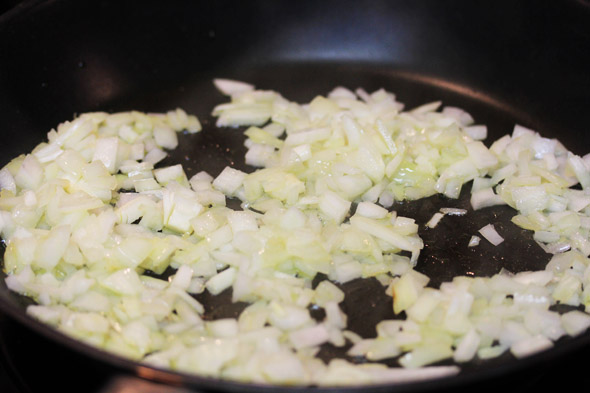
saute your onions
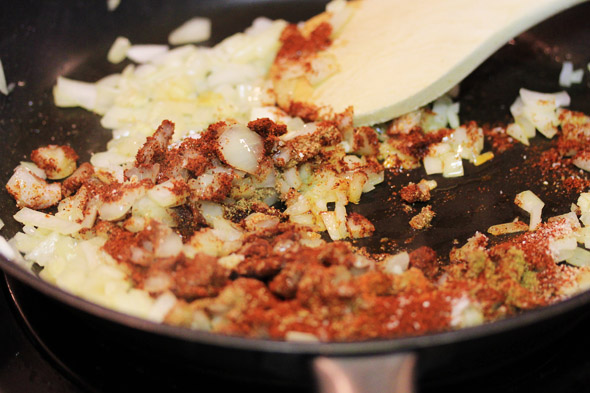
then add the seasoning and mix around until well combined, for about a minute
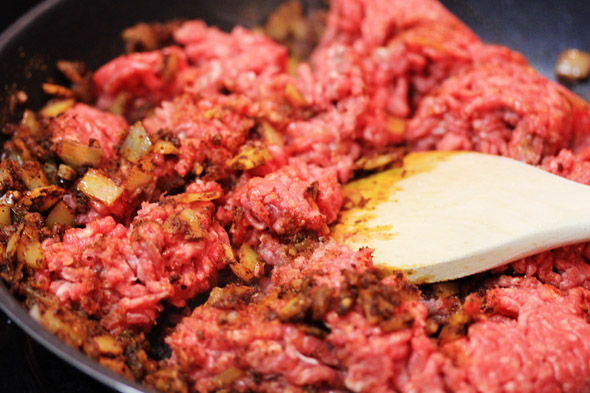
then add your ground beef….break it up
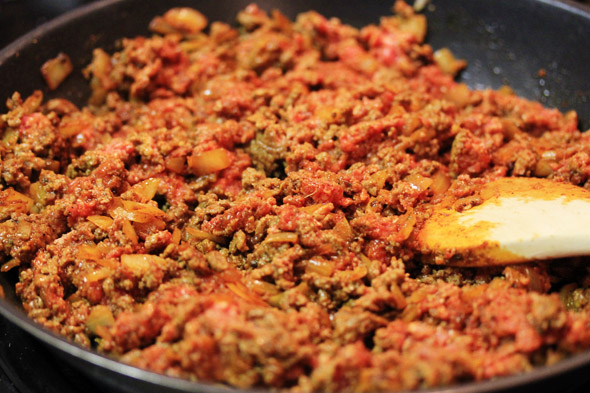
make sure all of the pink is out, about 5 minutes
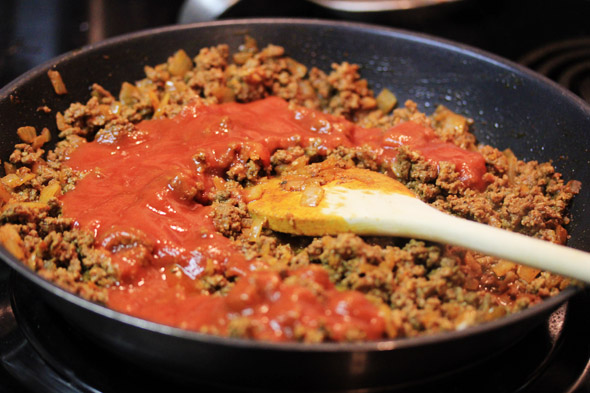
as soon as all the pink is out, add the tomato sauce, chicken stock, vinegar and brown sugar
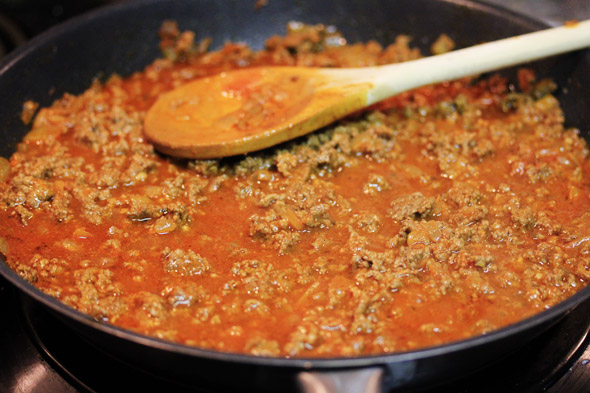
let it simmer over medium-low heat until most of the liquid is evaporated, about 15 to 20 minutes
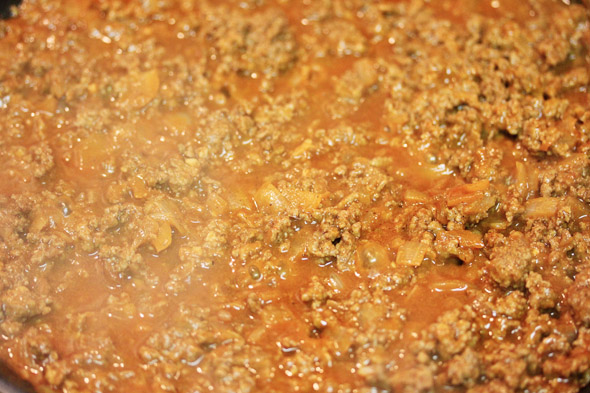
10 minutes later, still too wet…
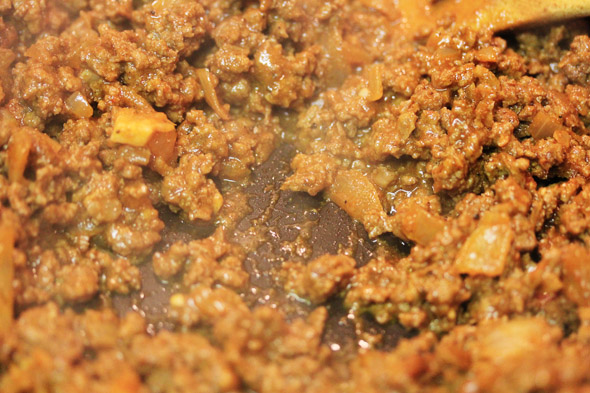
about 20 minutes later, perfect! still moist but not runny and sloppy
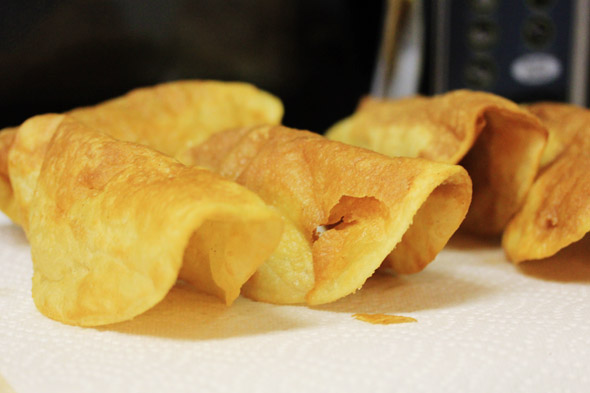
fry your taco shells and season w/ a little salt to taste *see note below*
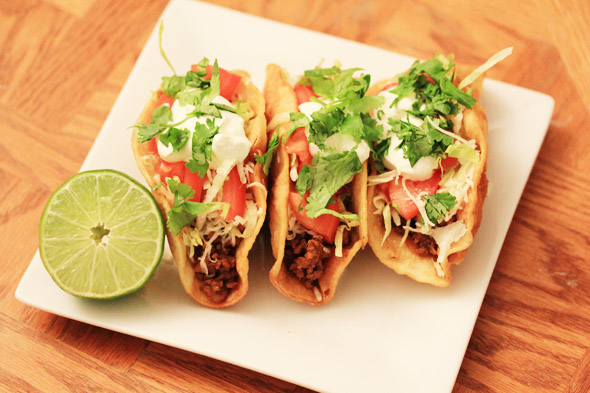
build your tacos and enjoy
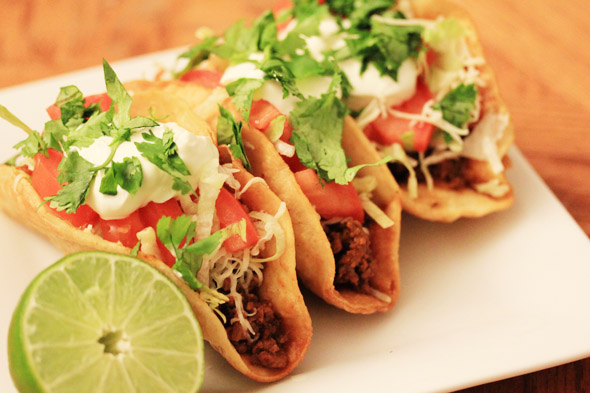
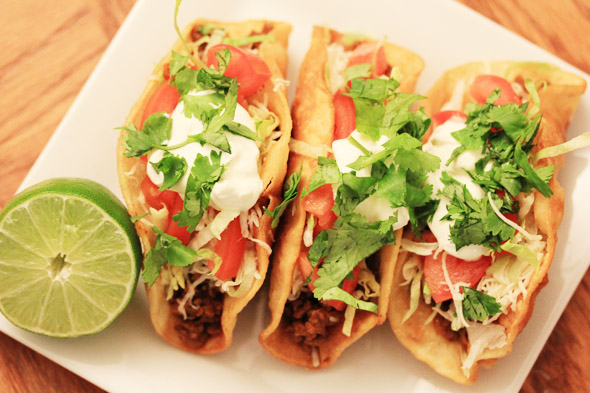
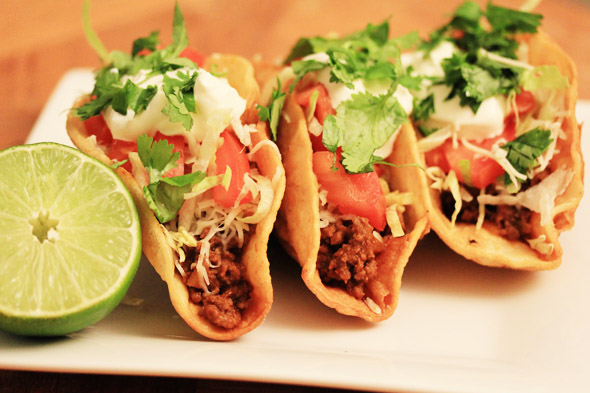
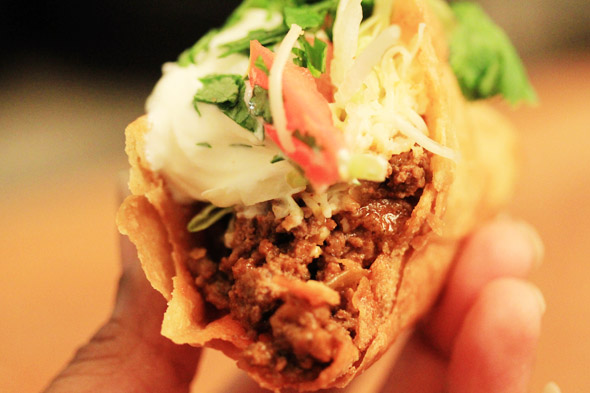
deliciousness awaits
HOMEMADE TEX-MEX BEEF TACOS
PREP TIME
COOK TIME
TOTAL TIME
adapted from Cook's Illustrated
Serves: 8
INGREDIENTS
For the Beef Filling:
- 2 teaspoons canola oil
- 1 small onion, chopped small (about ⅔ cup)
- 3 medium cloves garlic, minced or pressed through garlic press (about 1 tablespoon)
- 2 tablespoons chili powder
- 1 teaspoon ground cumin
- 1 teaspoon ground coriander
- ½ teaspoon dried oregano
- ¼ teaspoon cayenne pepper
- Salt and pepper to taste
- 1 pound 90% lean ground beef (or leaner -- don't use 80/20 because it'll be too greasy)
- ½ cup tomato sauce
- ½ cup low-sodium chicken broth
- 1 teaspoon brown sugar
- 2 teaspoons vinegar (preferably cider vinegar)
For the Shells:
- 8 to 12 6-inch corn tortillas
- Canola oil for frying
- Salt to taste
Topping suggestions:
- Cheddar or Monterey Jack cheese
- Shredded lettuce
- Diced tomatoes or salsa
- Cilantro
- Sour cream
- Hot sauce
- Limes
- Guacamole or avocado chunks
- Whatever you want -- it's your taco!
type2-diabetes-info.com
Learn How Diabetes Is Affected
by Your Diet & Get Treatment Info.
INSTRUCTIONS
For the beef filling:
- Heat oil in medium skillet over medium heat until hot and shimmering but not smoking, about 2 minutes; add onion and cook, stirring occasionally, until softened, about 4 minutes. Add garlic, spices, and ½ teaspoon salt; cook, stirring constantly, until fragrant, about 1 minute. Add ground beef and cook, breaking meat up with wooden spoon and scraping pan bottom to prevent scorching, until beef is no longer pink, about 5 minutes. Add tomato sauce, chicken broth, brown sugar, and vinegar; bring to simmer. Reduce heat to medium-low and simmer, uncovered, stirring frequently and breaking meat up so that no chunks remain, until liquid has reduced and thickened (mixture should not be completely dry), about 10 to 20 minutes. Adjust seasonings with salt and pepper. I added hot sauce to my mixture, but you don't have to. Make sure you taste it before you serve it up!
For the taco shells (see photos below):
- In a small shallow pan, heat about 1 to 2 inches of canola oil to 350 degrees. Hold one end of each tortilla with tongs, and hold down the other end with a heat-proof spatula in the oil until it sets up, about 10 to 15 seconds. Switch positions and fry the other side until you get a somewhat perfect shell, then repeat on the other side again until it's evenly crisp. They won't be 100% perfect, but they'll be delicious! If you don't have a thermometer to test the temperature of your oil, just tear off a piece of a tortilla and put it in the hot oil -- if it floats after a few seconds (about 5) it's ready. If it doesn't float at all, it's not hot enough -- and if it burns immediately, its too hot!
- Drain each shell on paper towels and season with salt while they're still very hot.
Comments
Post a Comment