Biscuits can have many different textures, densities, flavors, etc. That’s why I have several recipes, just in case your’e wondering “Why would anyone need more than one biscuit recipe?” lol. This is a recipe for tender, fluffy biscuits that don’t feel like rocks in your stomach.
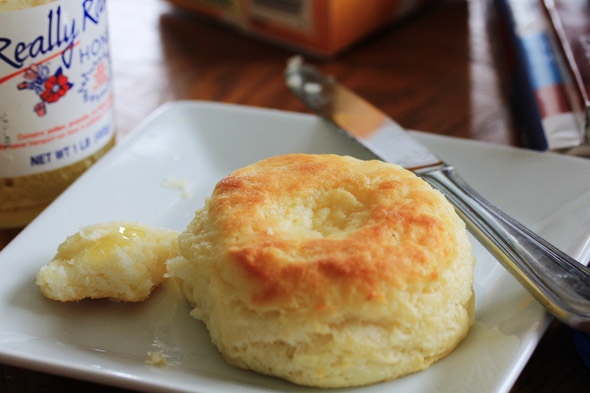
Contrary to what you may believe, making biscuits is an incredibly easy task. The main things you need to know are:
- Keep all fats and liquids as cold as possible.
- Be gentle and loving with your dough.
If you keep those two tips handy, you’ll have a successful biscuit-making life. There is a science to baking, things get mixed around and react with other ingredients and yadda yadda, but I promise this recipe is super easy to do — as are most biscuit recipes. The more you fuss with your dough and bang it around and knead it repeatedly, the more gluten you’ll create — giving you tougher biscuits. That method is all good when making pizza dough but you want soft, fluffy, and tender biscuits…right? Of course you do 
My flour of choice for biscuits is White Lily. I started using White Lily flour after doubting it’s hoopla. See, White Lily flour is made with a lower protein flour, which gives you a softer biscuit. You could definitely use a different brand, but if you are near a place that sells White Lily, please give her a try. I know for a fact they sell it at Walmart — maybe not every Walmart, but they ones near me. You can also order it online.
I tried to take as many step-by-step photos here as possible, but if you have questions you know where to find me 
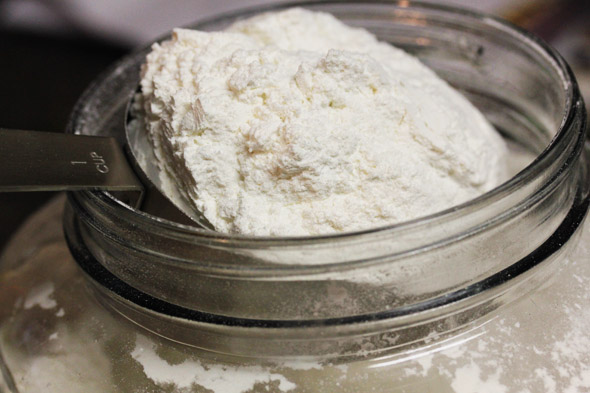
scoop a cup of flour
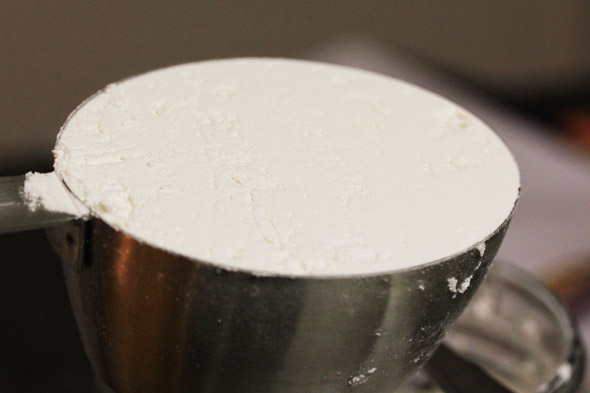
then level it off so it’s exactly one cup
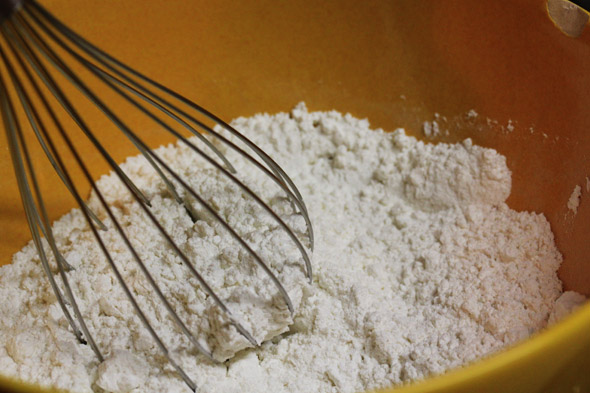
mix your flour and other dry ingredients together evenly
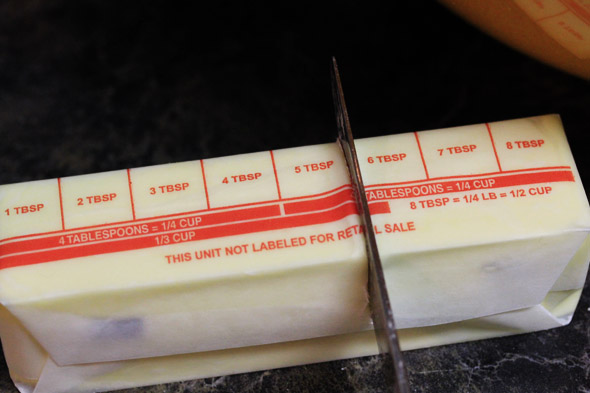
take 5 tbsp of butter…butter gives it flavor
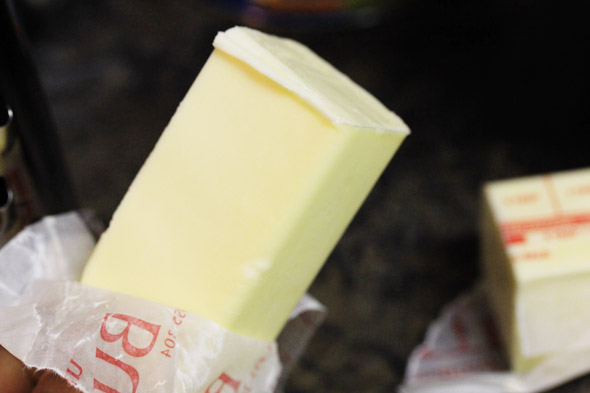
peel the paper back
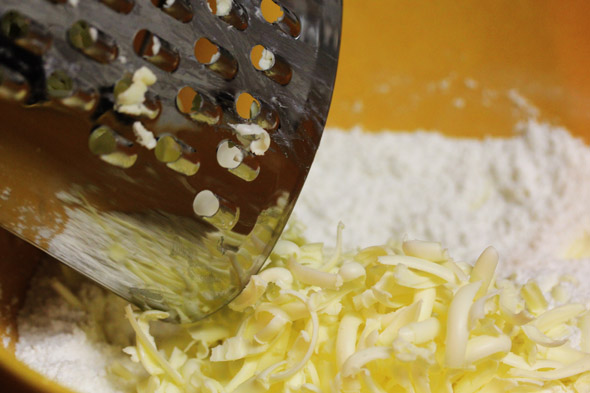
and with a cheese grater, grate the butter into the bowl…OR, just chop the butter into chunks and use a fork or pastry blender to cut the butter into the flour evenly
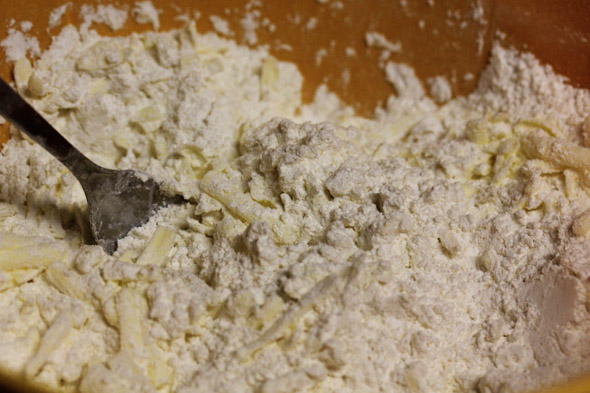
fluff the flour around with the pieces of butter just to coat it
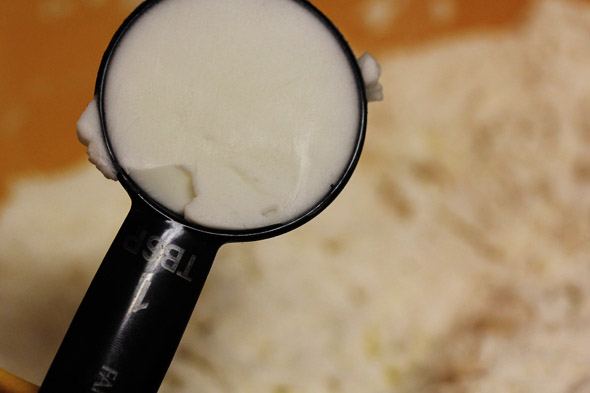
add in about a tablespoon or two of vegetable shortening for flakiness
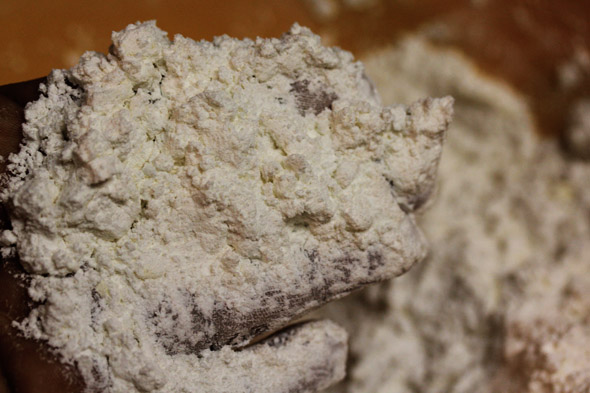
with your whisk or a fork blend the butter and shortening into the flour, grinding it gently into the flour to break it into pieces about the size of a pea or slightly smaller. then it develops this kinda texture
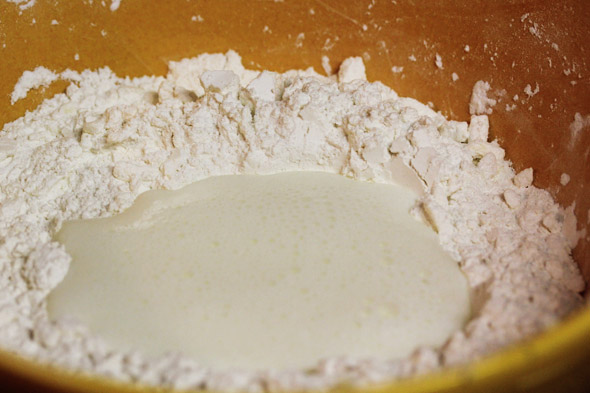
once you've mixed the butter and shortening into the flour, make a well in the center and pour in your buttermilk…then gently bring both components together, using a fork or spoon — gently
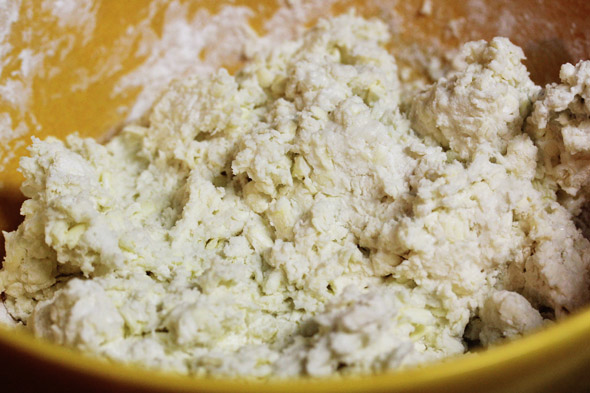
the dough comes together, and is kinda moist 1 cup of buttermilk wasn’t enough for me
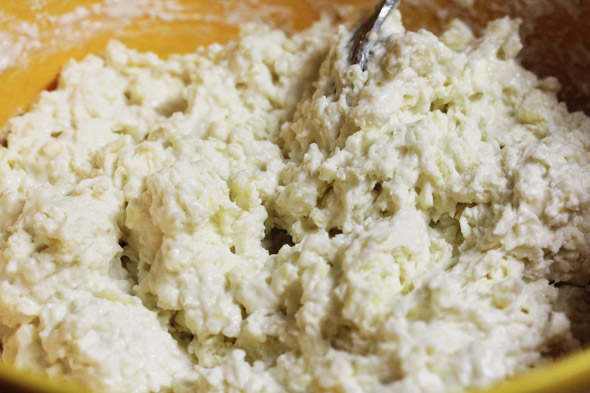
you want it to be just a little wetter, so I added 3 more tablespoons of buttermilk
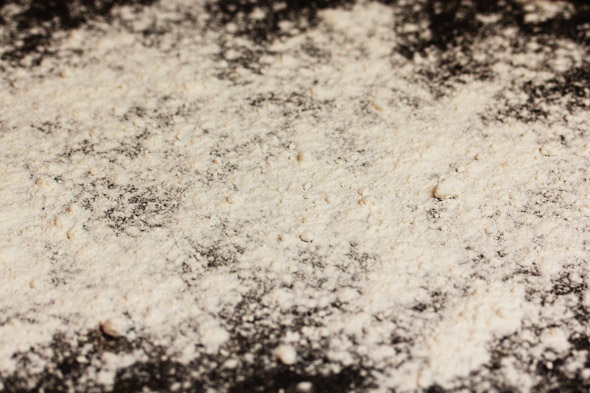
flour your surface with the same self-rising flour you used to make your biscuits
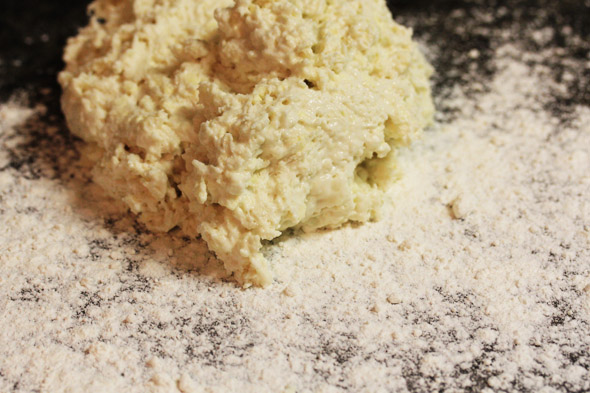
plop your dough on top, sprinkle the top with more flour so that your fingers don’t stick to the dough. GENTLY knead it around just until enough flour is covering it so that when you press it, your fingers aren’t sticking into the dough…should take about 10 seconds or so.
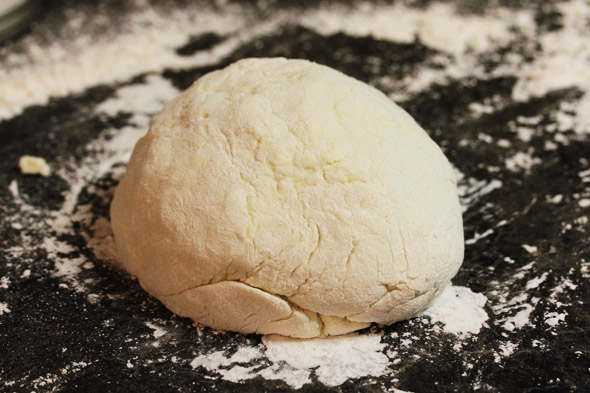
see, a ball like this…it’s still incredibly moist, but it’s not sticking to my hands.

don’t have a biscuit cutter? use the rim of a drinking glass…
just make sure the glass isn’t shaped too oddly shaped
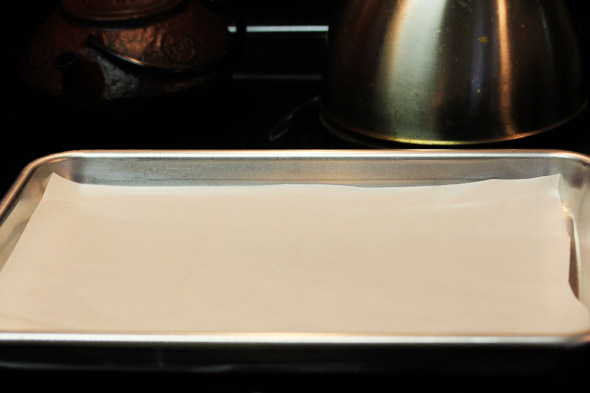
line your baking sheet with either parchment, silpat, or the dull side of aluminum foil
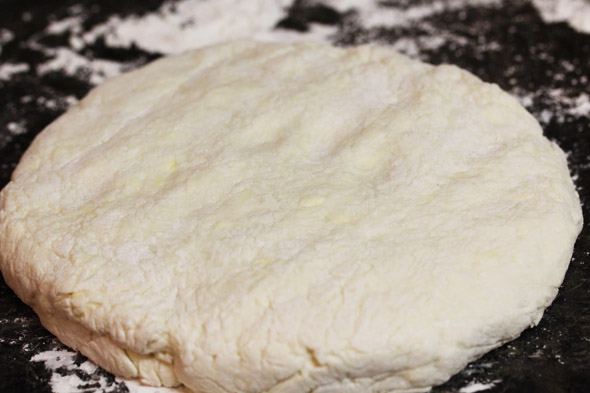
flatten your dough about an inch thick with the palm of your hands, gently
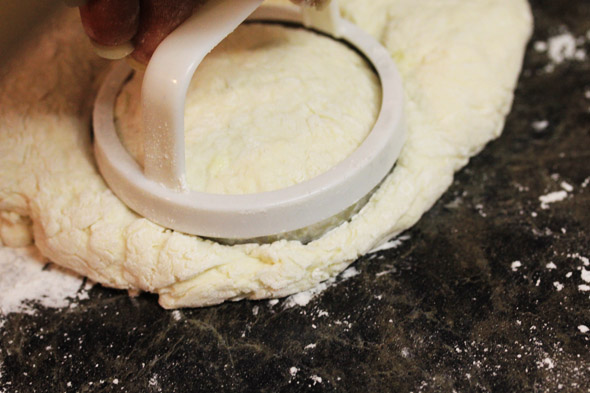
cut a biscuit out using a biscuit cutter
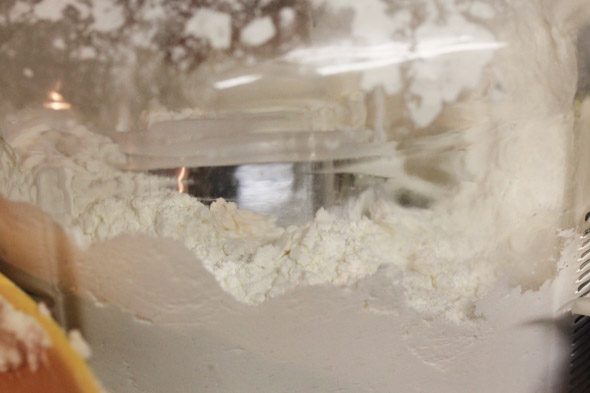
dip the cutter into flour to prevent the next few biscuits from sticking, giving you even cuts on each biscuit
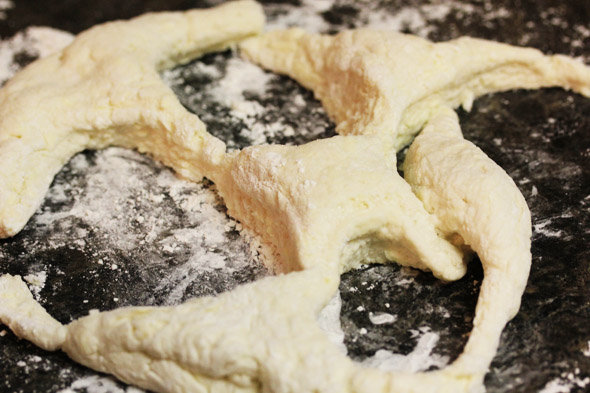
I got four biscuits out of that first go’round…time to gently gather the scraps and form them into another flat circle
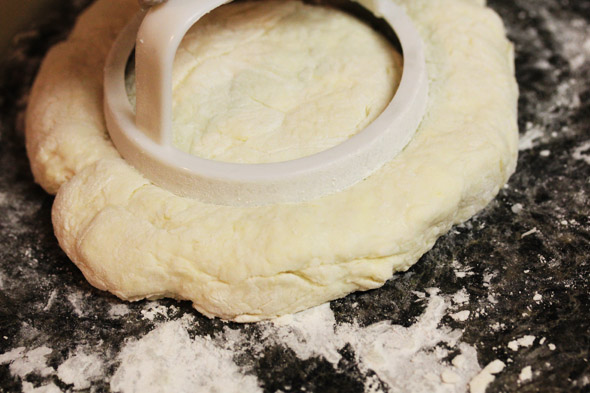
cut one biscuit out, and repeat to make one last biscuit
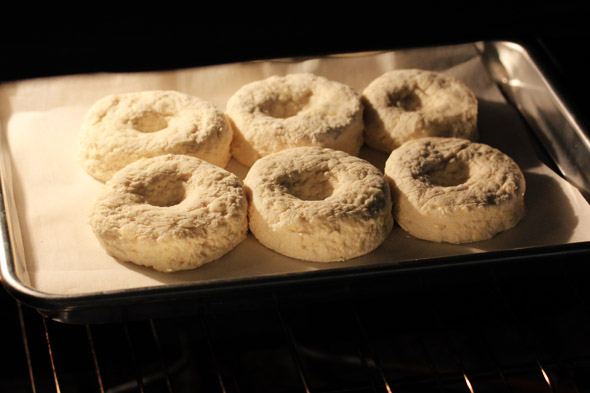
arrange your biscuits on your baking sheet, and with your thumb make a small indent in the middle…you don’t have to do this, but I only do it to keep the biscuits from raising funky and oddly shaped…plus I’m a sucker for all the butter it will later hold in later steps
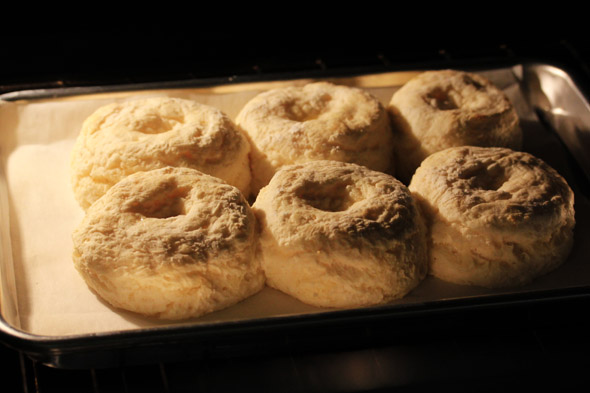
halfway done…
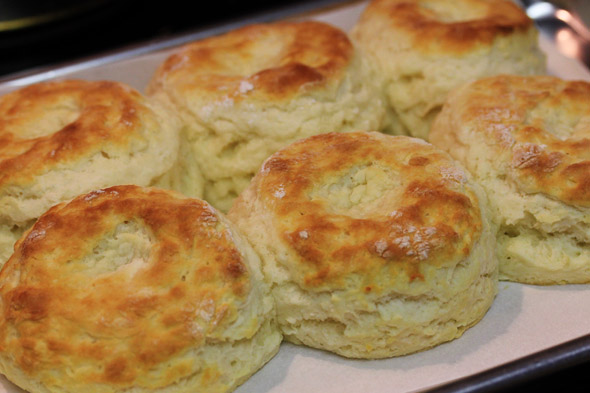
aren’t they pretty? but they need more cowbell…and by cowbell, I mean butter…so melt 2 tablespoons of it
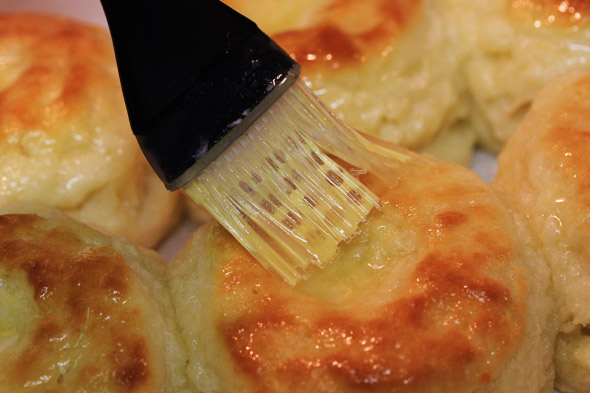
and spread her all over each biscuit until all 2 tablespoons are soaked up
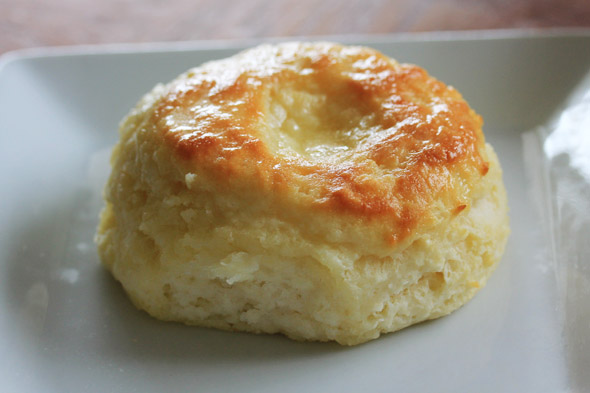
ain’t she a looker? but she’s lonely…
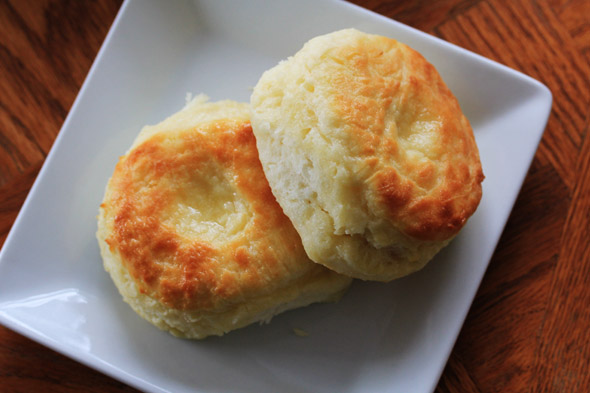
and who am I kidding? I know damn well I can body two of these!
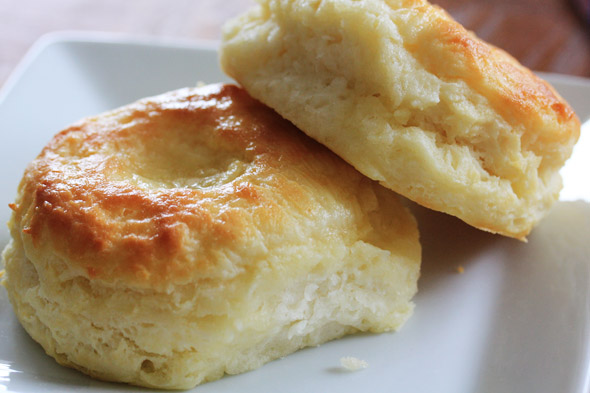
a little biscuit-on-biscuit action
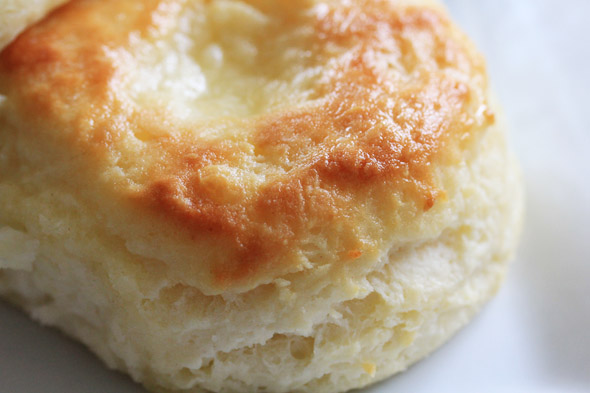
you can just see how delicious this is about to be
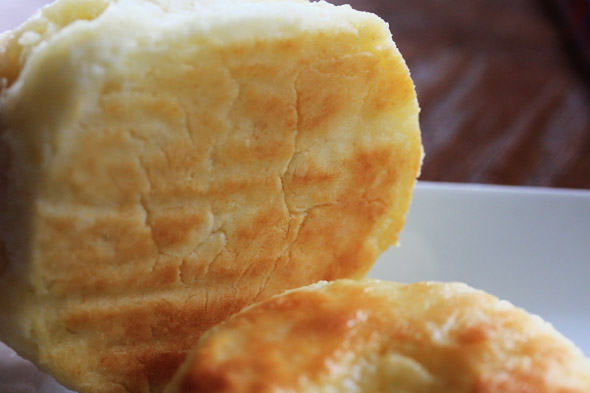
just in case you’re wondering what the bottom’s looked like
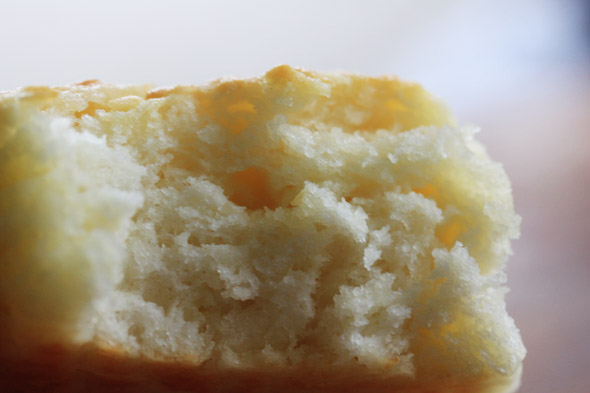
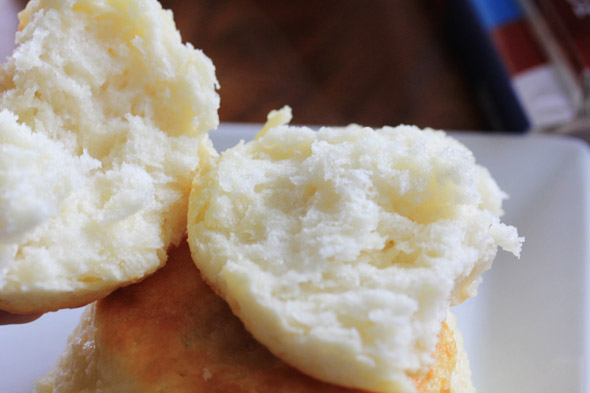
first bite..you can see how fluffy and tender these are
time for some honey

yummy
You too, can make great biscuits at home and I bet you already have some of these ingredients in your pantry so there’s no excuse!
BUTTERY BUTTERMILK BISCUITS

PREP TIME
COOK TIME
TOTAL TIME
Author: Dierra from Jive Foods, Inc
Serves: 6 to 8 biscuits
INGREDIENTS
- 2 cups self-rising flour (recommend: White Lily), plus extra for dusting your surface
- ½ tsp salt
- 1 tbsp sugar
- 5 tbsp cold butter, cut into cubes (or use a cheese grater!), plus 2 tbsp melted for brushing on top
- 2 tbsp cold vegetable shortening
- 1 cup cold low-fat cultured buttermilk, plus an extra 3 tbsp in case you need it
INSTRUCTIONS
- Preheat your oven to 450 degrees
- Line your baking sheet with parchment paper or silpat or the aluminum foil, dull side up.
- In a large bowl, mix the flour, salt and sugar together until combined. With a fork or pastry blender or end of a whisk, cut the butter and shortening into the flour mixture until each piece is coated and the size of small peas. Make a well in the center of the flour and pour in one cup of the buttermilk. Gently mix it around until it’s combined. If it’s not “wet”, add in the extra 3 tablespoons of buttermilk to moisten it. You don’t want it runny or gloopy, just visibly moist (check out my photo above for reference).
- Flour your surface and gently place your dough on top. Dust the top of the wet dough with a little more flour ensuring that your fingers don’t stick into the dough. Bring the dough together for about 10 seconds using super gentle hands, and flatten into an inch thick circle. Cut as many biscuits out as you can, flouring the cutter in between each cut.
- Place each biscuit on the lined baking sheet, so that they’re touching sides ever so gently. Press a small indentation with your thumb. You don’t have to do this at all, it’s just something I do sometimes to prevent oddly shaped biscuits. Sometimes they get so tall that they start toppling over during the baking process.
- Bake on the middle oven rack for 10 to 12 minutes or until golden brown. Remove from the oven and immediately butter those suckers down.
- Enjoy.
NOTES
I used salted butter this recipe but feel free to use unsalted
Comments
Post a Comment